Photos from the seller.
Doesn't look like much right?
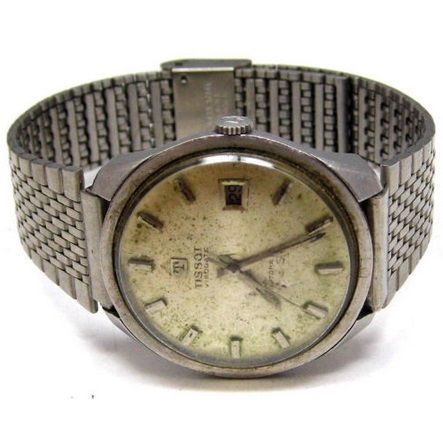
Dial looks pretty beat up.
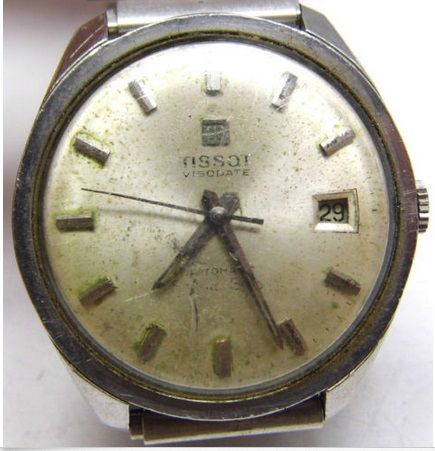
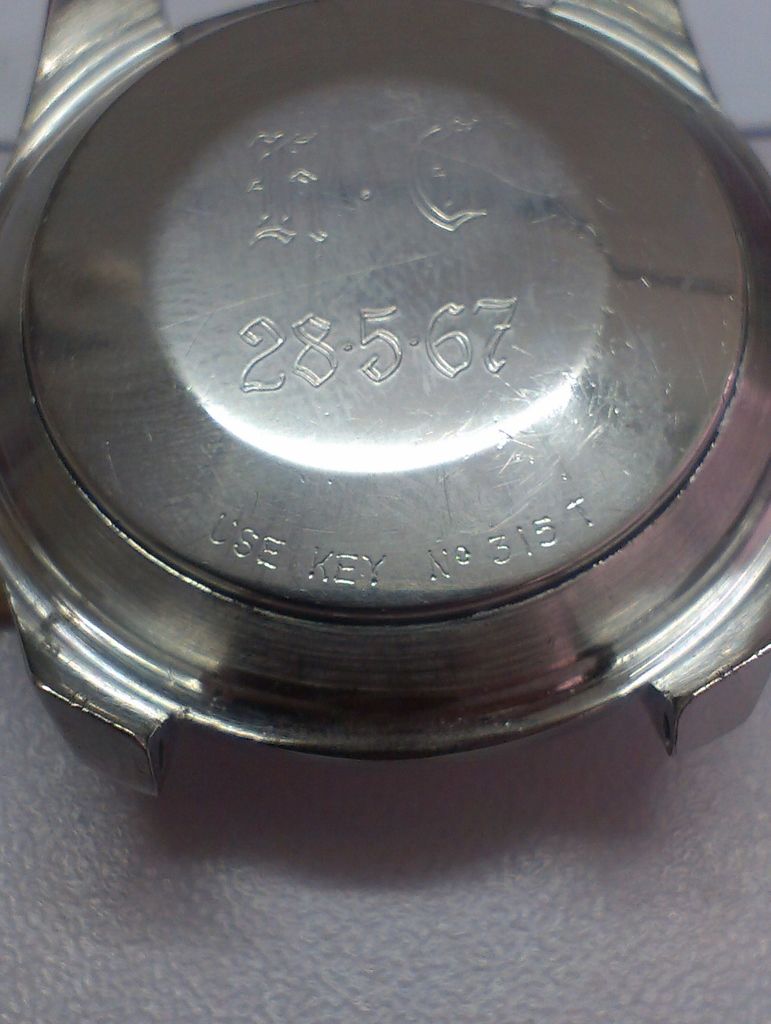
Don't need to guess what year it was made...
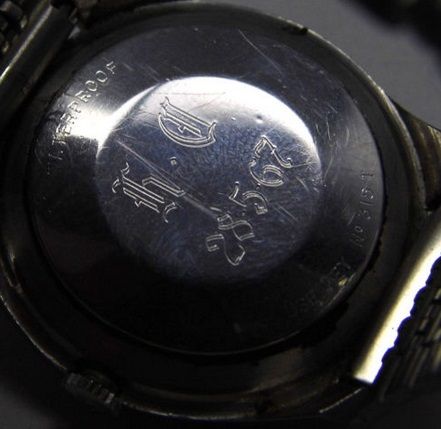
At least the photos proved that the movement was running, as shown by the different position of the seconds hand. Of course someone could fake this by physically moving the hands but a sign of hope nonetheless.
----
Well I got the watch a couple of weeks later and when I gave the crown a few turns it started right up... that's a good sign!
I completely dismantled it and found nothing major with the movement, the only part which was not too good was the automatic rotor/bearing but since replacement parts would be more than the cost of the watch I elected to re-use the old parts.
Below is a pictorial essay of the assembly of the Tissot 784-1 movement. This movement was made in the early 70s and was replaced by the Tissot 2481 movement.
Main-plate.. all cleaned.
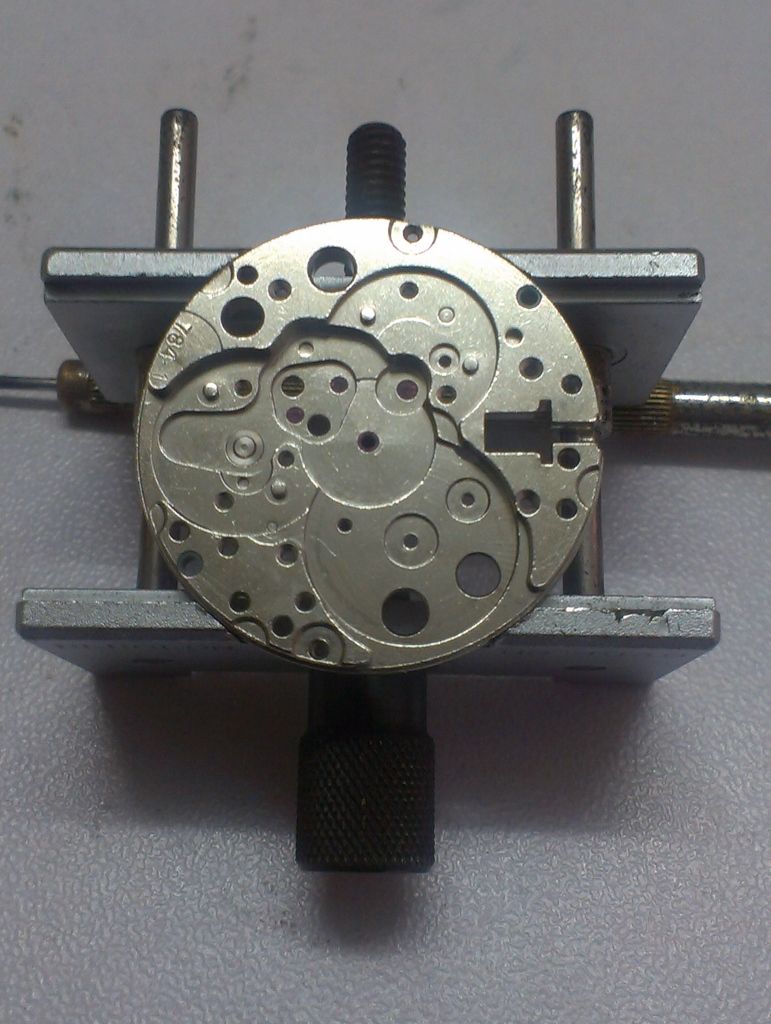
The escape wheels and 3rd and 4th wheels.
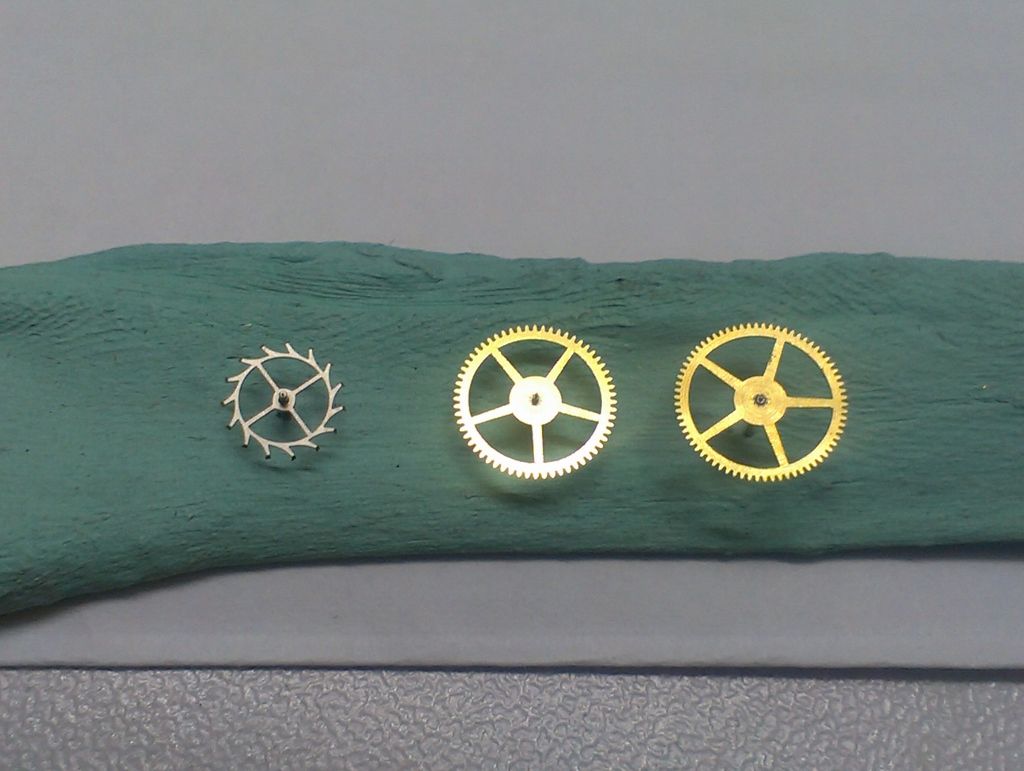
The wheels in place before fitting the train bridge, the center wheel is already installed and center wheel bridge can be seen below the 4th wheel.
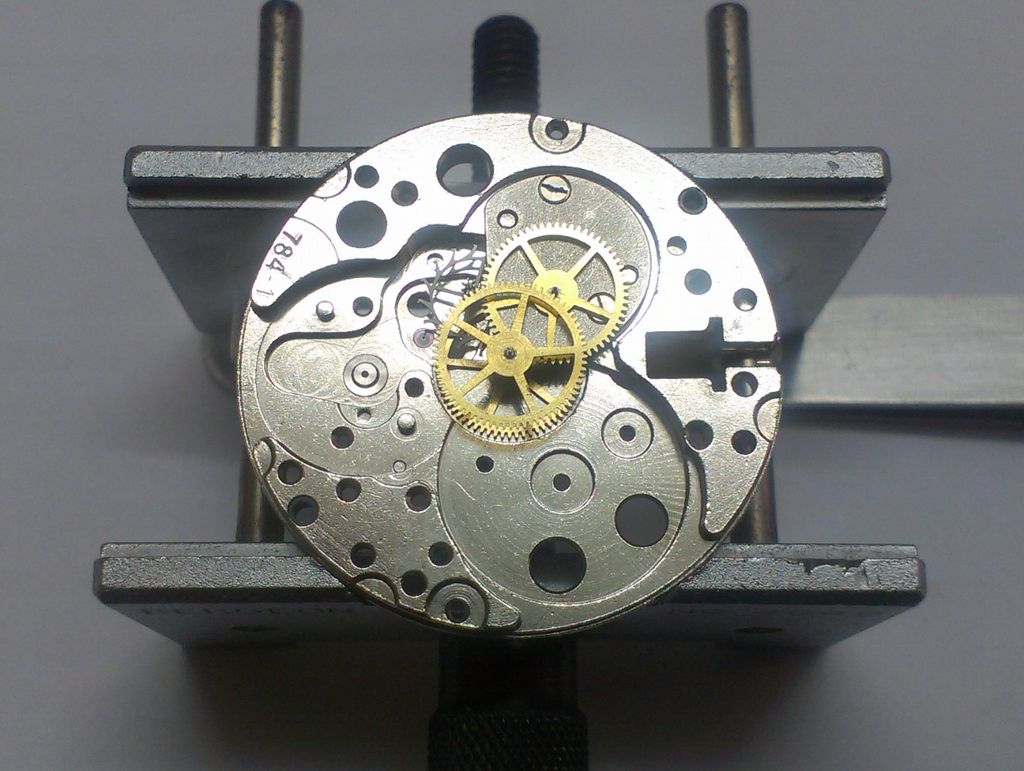
Here we see the train bridge installed. This is usually a bit fiddly as you need to get the pivots of all wheels to line up in their respective holes..patience is the key here. You can see a bit of wear on the plate at the upper left where the automatic rotor has worn off the plating above the CHs.
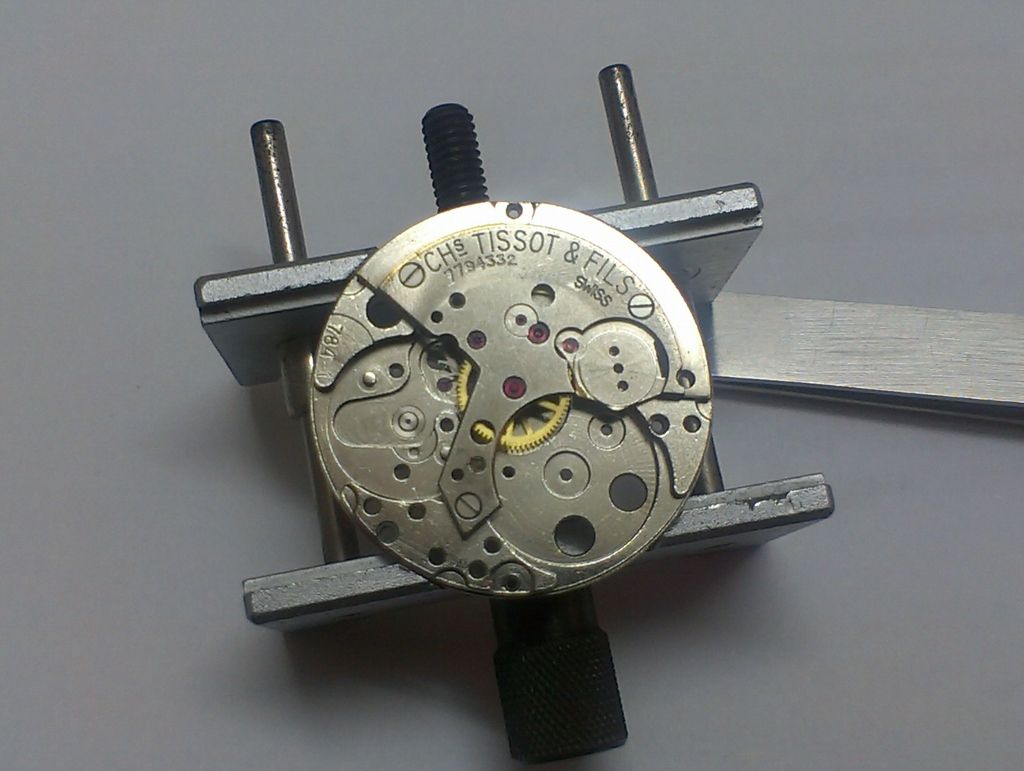
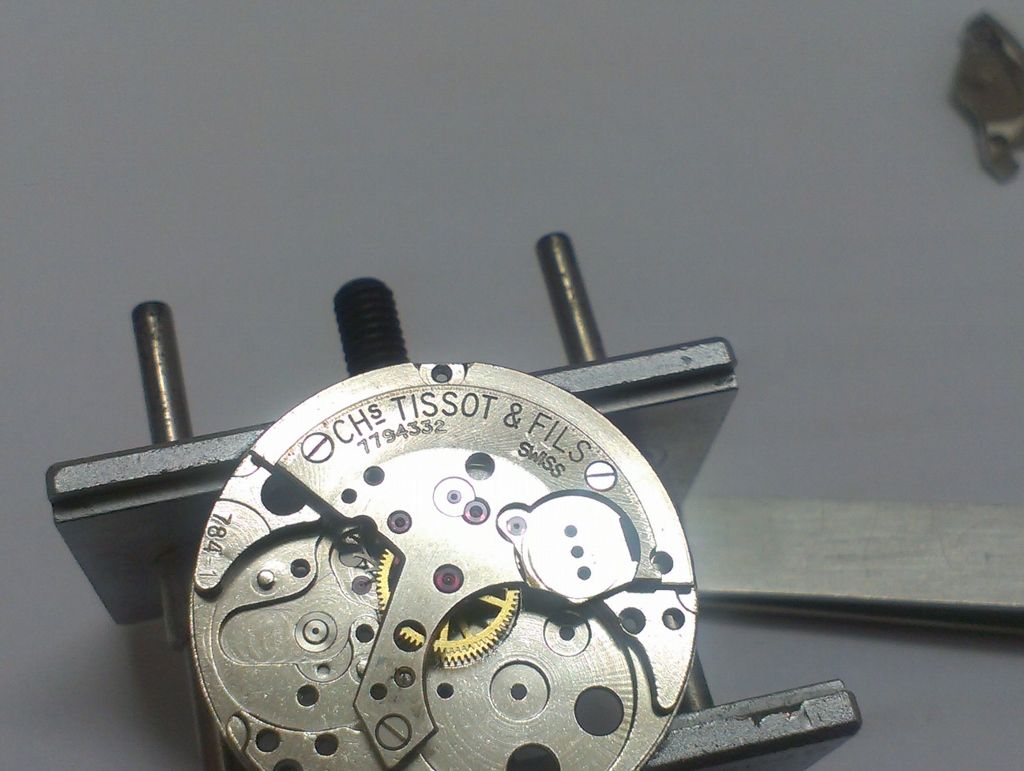
A view of the main plate from another angle, Tissots movements are nicely finished.. the screw-heads are flat and polished and the plates are nicely finished, check out the area marked 'SWISS'.
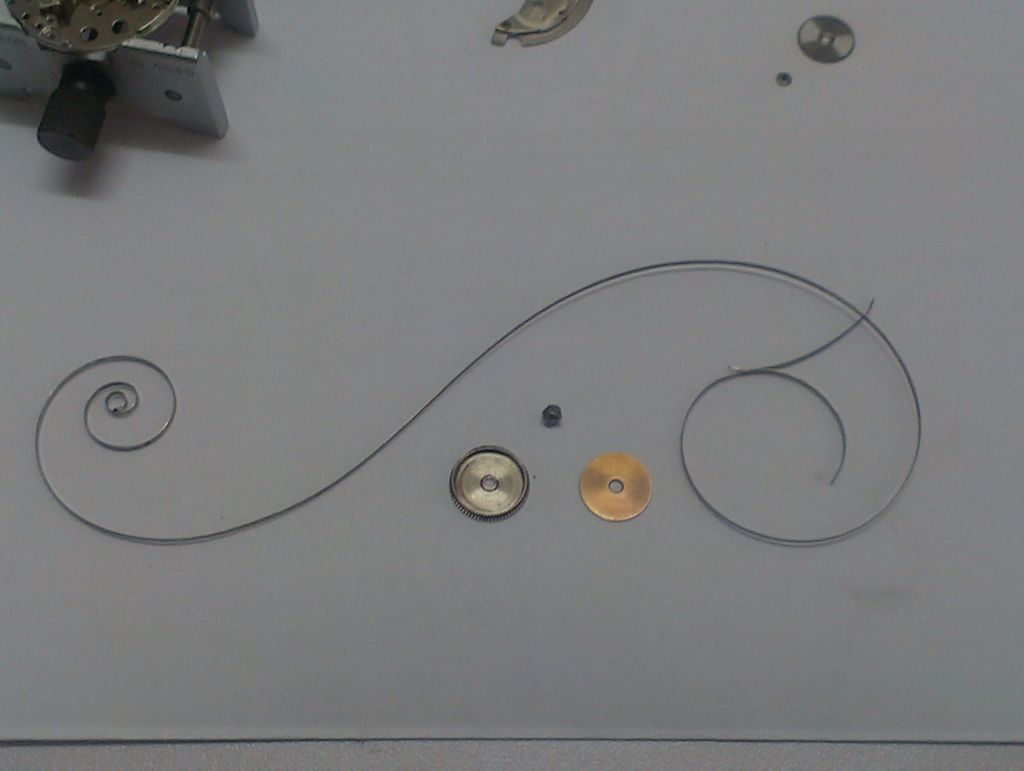
Now we move on to the barrel.. here we have the components. All looks in order after a good clean.. a lot of old dried up grease here! The main spring is in fine shape and will be re-used.
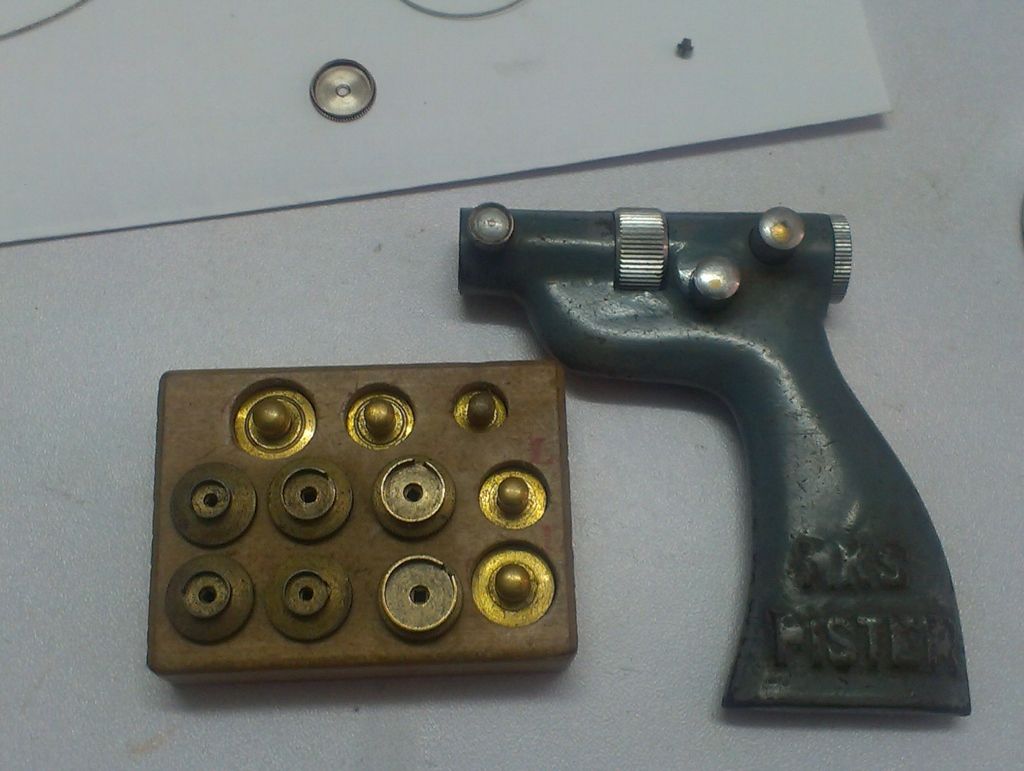
My trusty main-spring winder which was previously used by my father-in-law. MKS Fister, made in Japan.
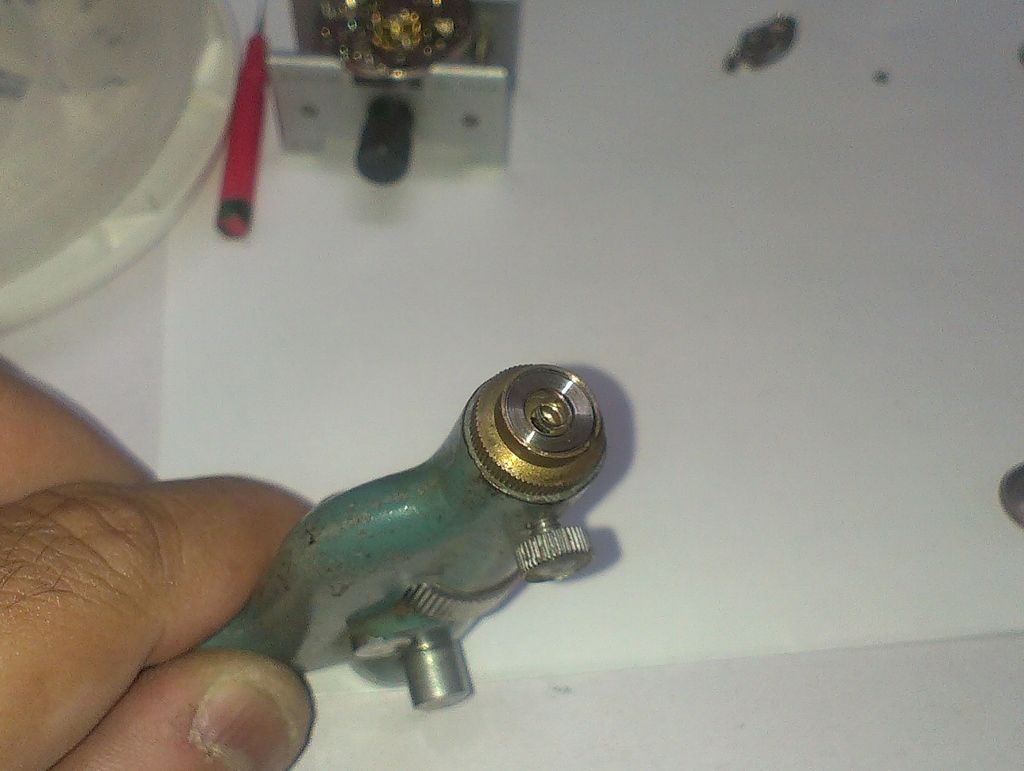
Close-up of the spring in the winder.
Barrel assembled and slid into position.
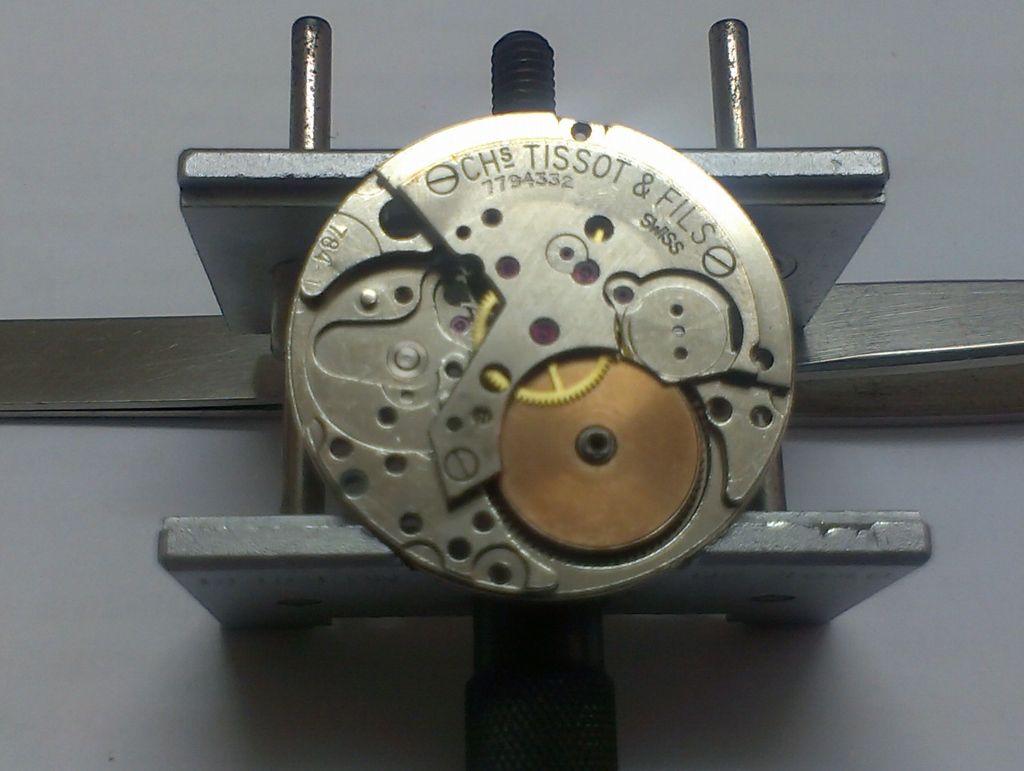
barrel bridge in place and click spring installed (arrow).
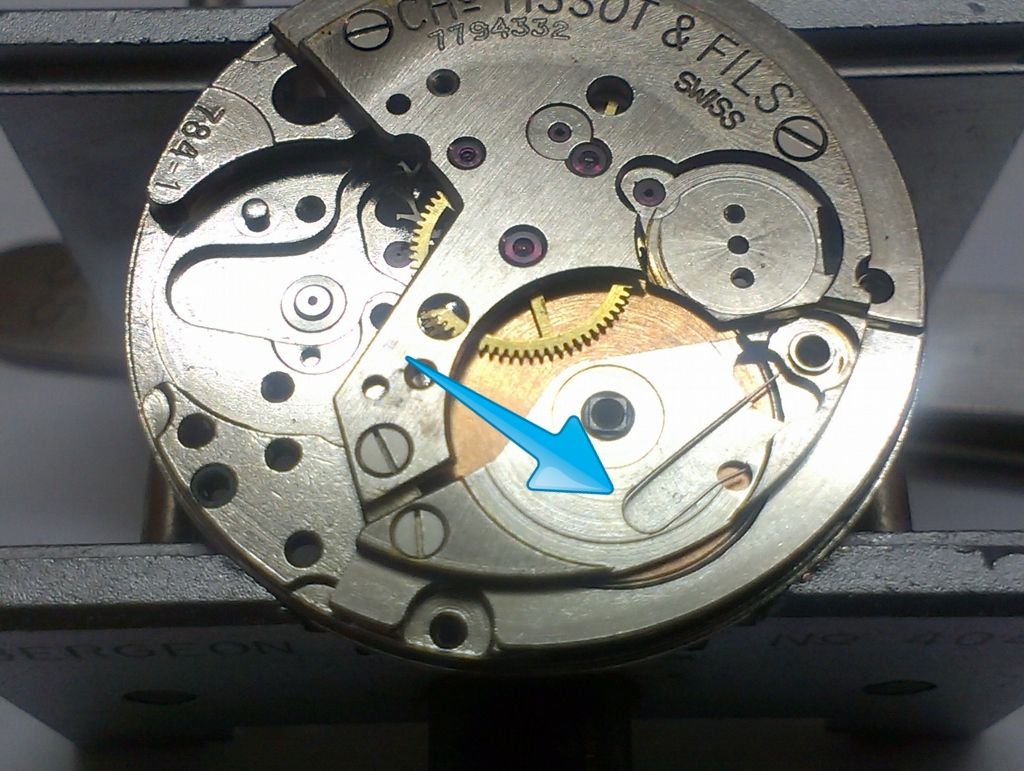
.. followed by the winding wheel and ratchet wheel. Tissot uses two small screws to hold the winding wheel in place... this is so much nicer that the usual single left handed screw other manufacturers usually use. The plate holding the winding wheel and click are also highly polished resulting in a nice classy-looking package.
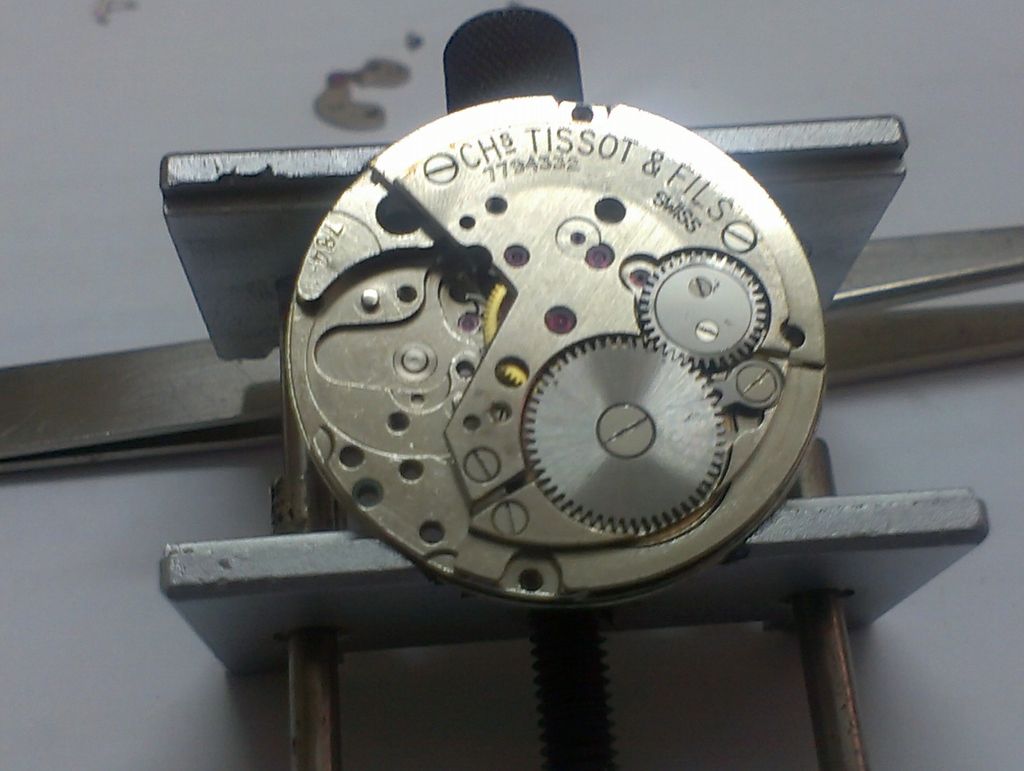
Next I install the pallet-fork and bridge.. most of the jewels get oiled when the base movement is complete but the pallet stones and the pallet-pivot under the balance get oiled at this point as it is more accessible now.
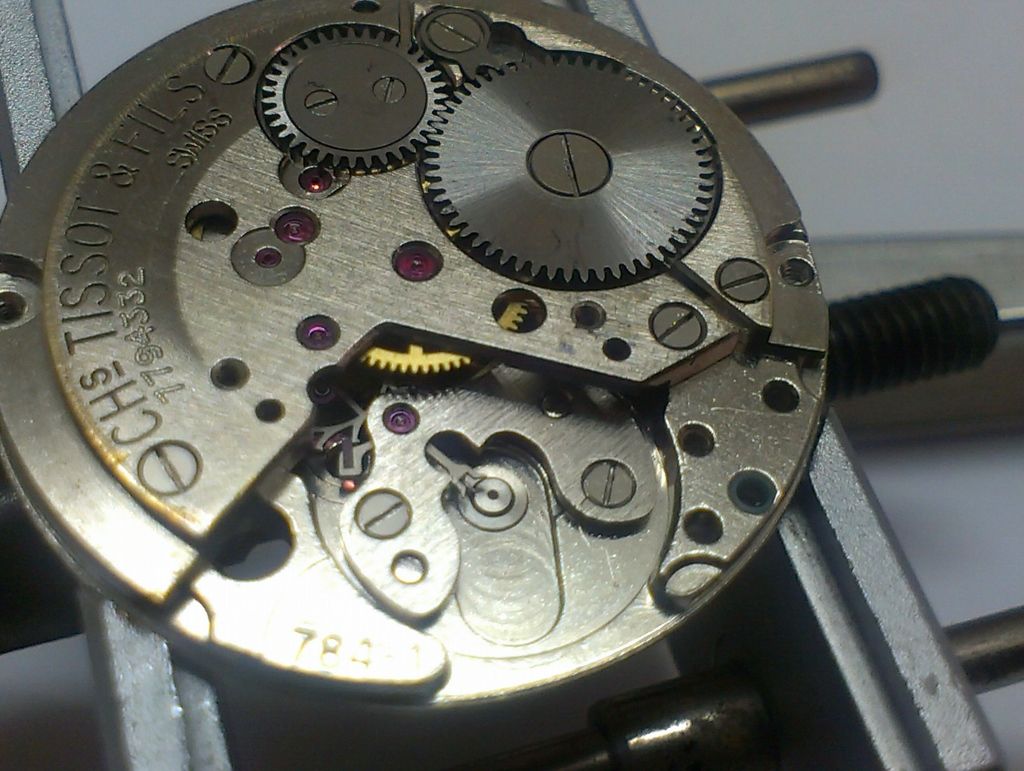
Balance and balance jewels installed.... (it's already trying to tick, even though the bottom jewels are not in yet!).
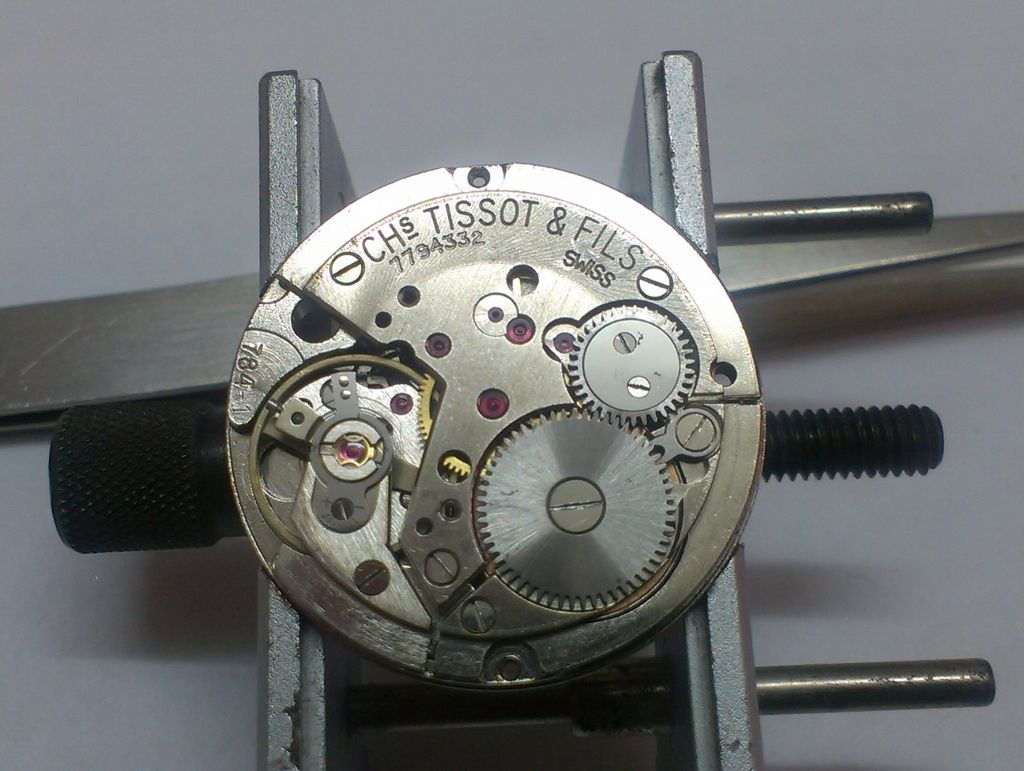
...followed by the dial side balance jewels and it springs to life....
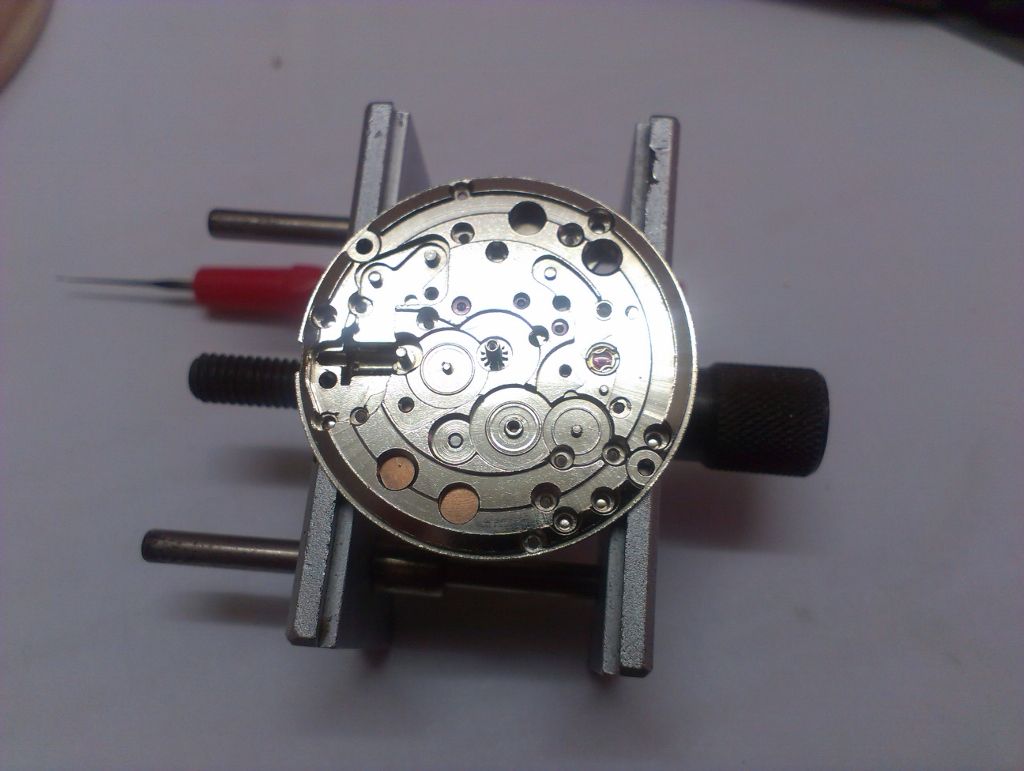
In most other watches you would continue to assembly with the keyless works (that which sets the hands and allows winding of the watch, followed by the date mechanism and dial. With this watch however, the usual order won't work. We'll set the running movement aside and move on to another area...
...The case.
There are several dings which need to be sorted....
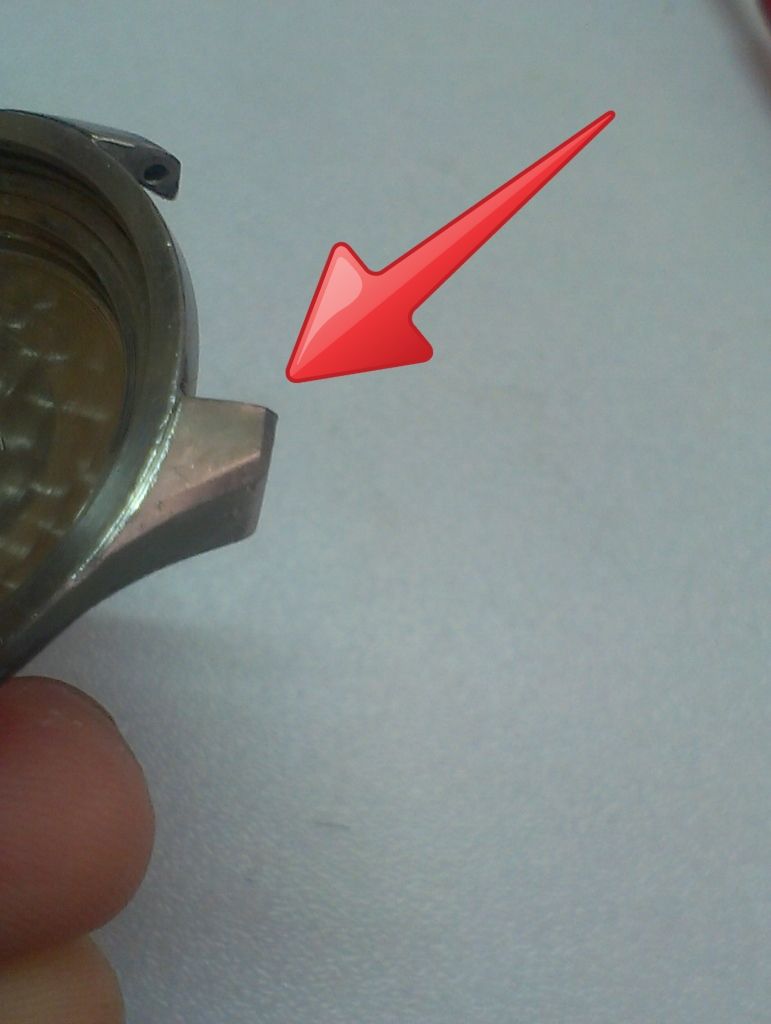
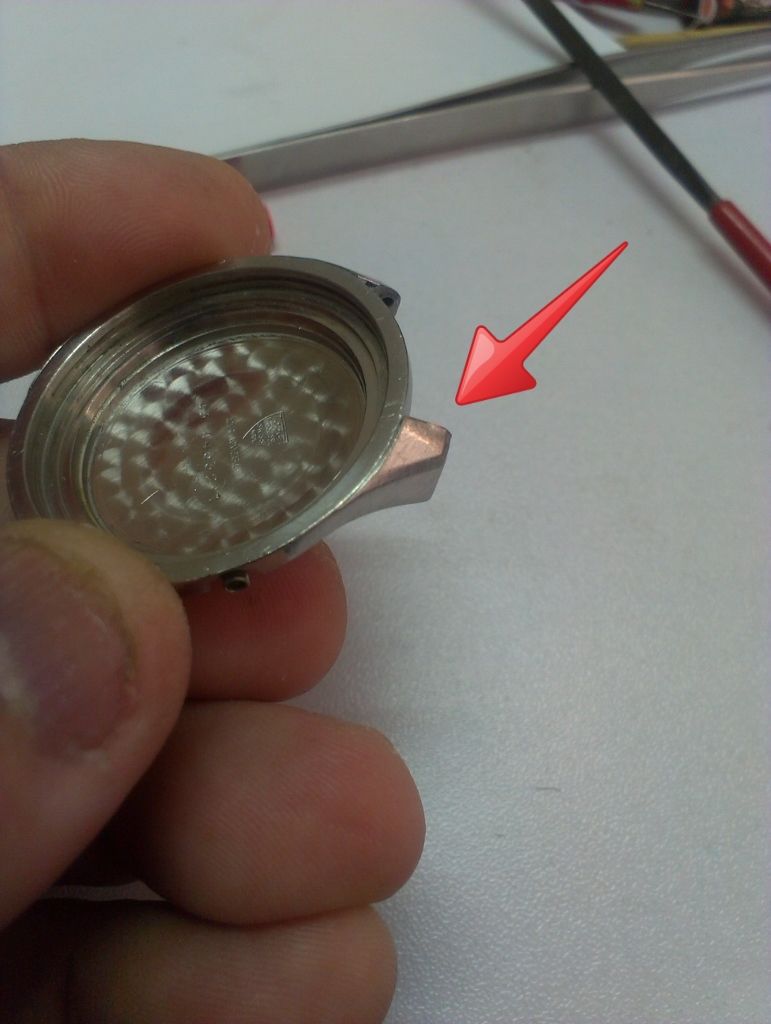
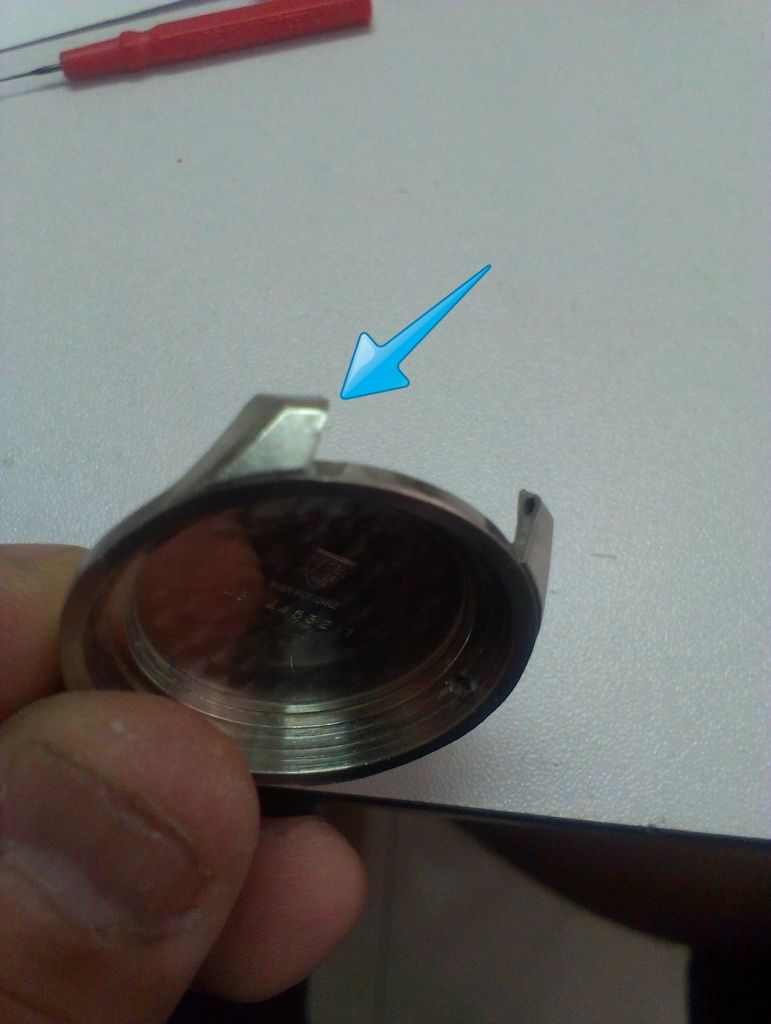
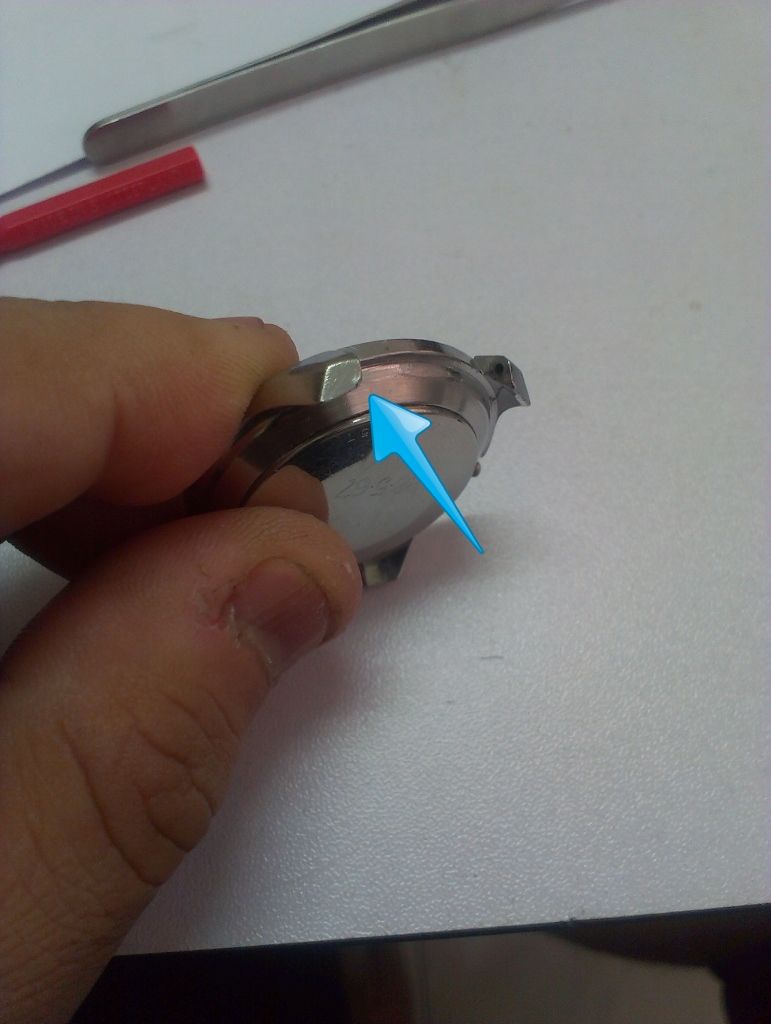
I first used a file to level off the dings, followed by fine sand-paper and a final polish using Solvol Autosol... not perfect but way better.
Next on the list is to fit the movement spacer.. This goes from behind the movement and secured by two screws.
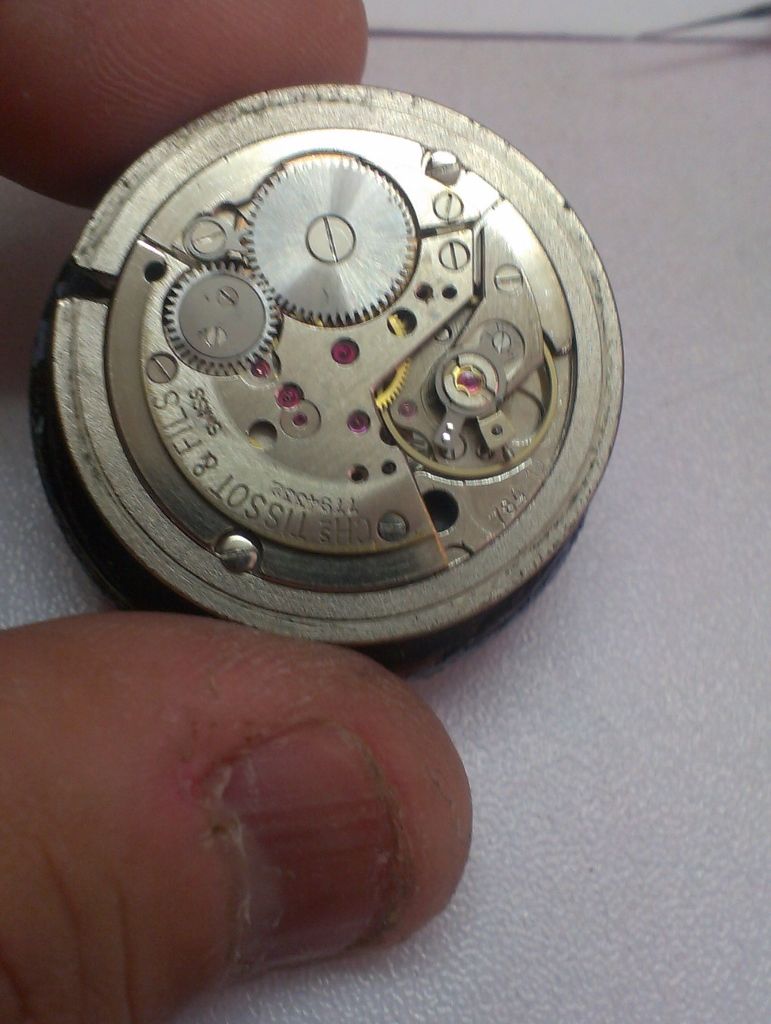
Next is the auto-wind mechanism... simple mechanism, three wheels and a leaf-spring ratchet, seen here edge on (blue arrow).
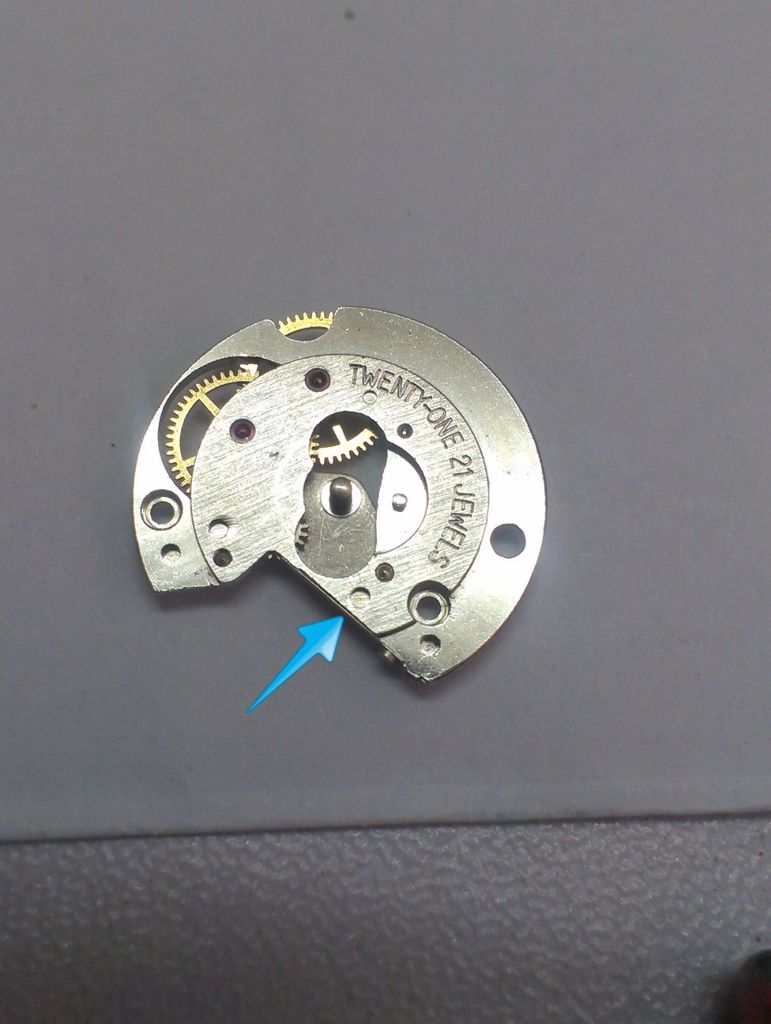
From the other side,
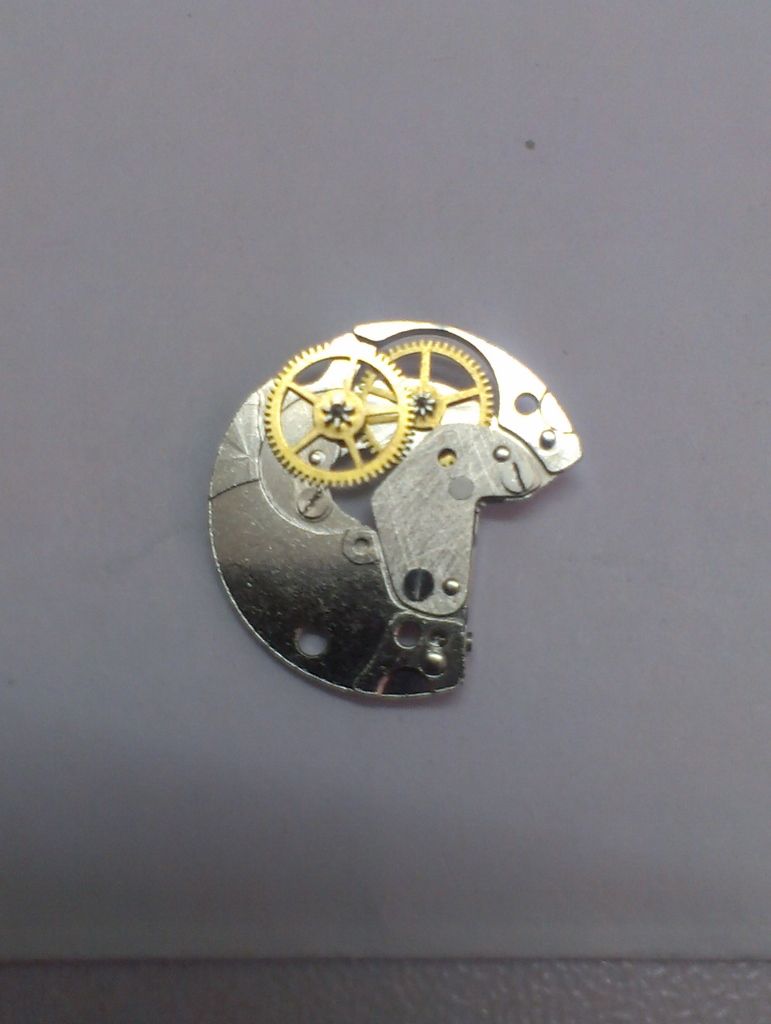
and installed on the movement.
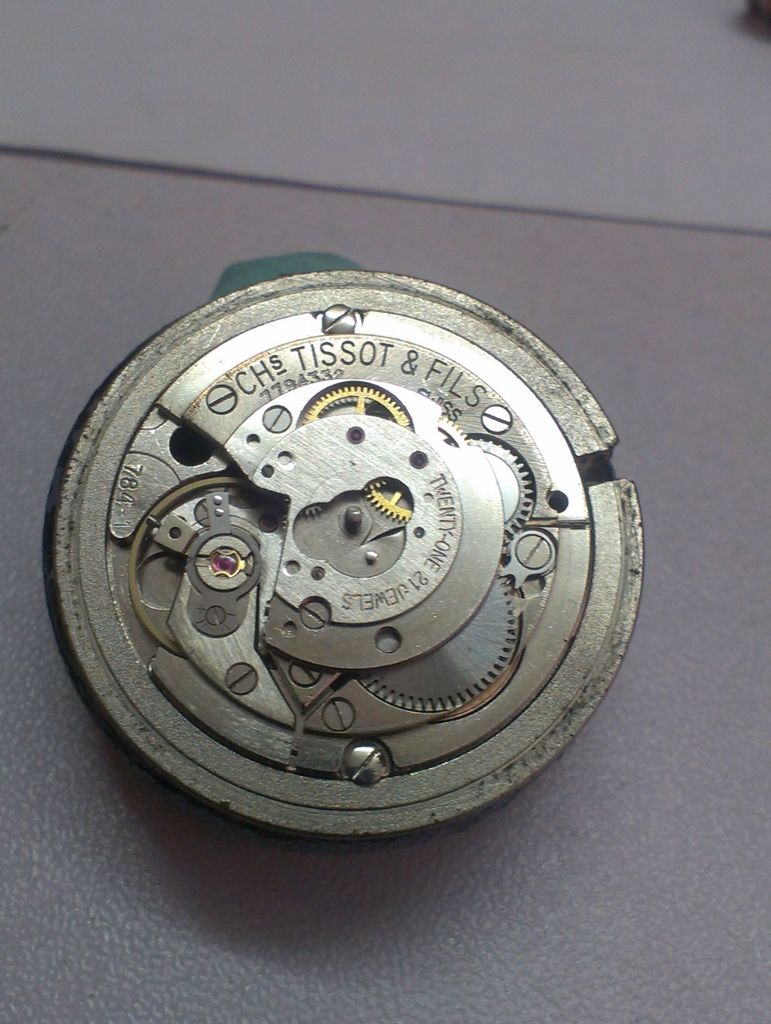
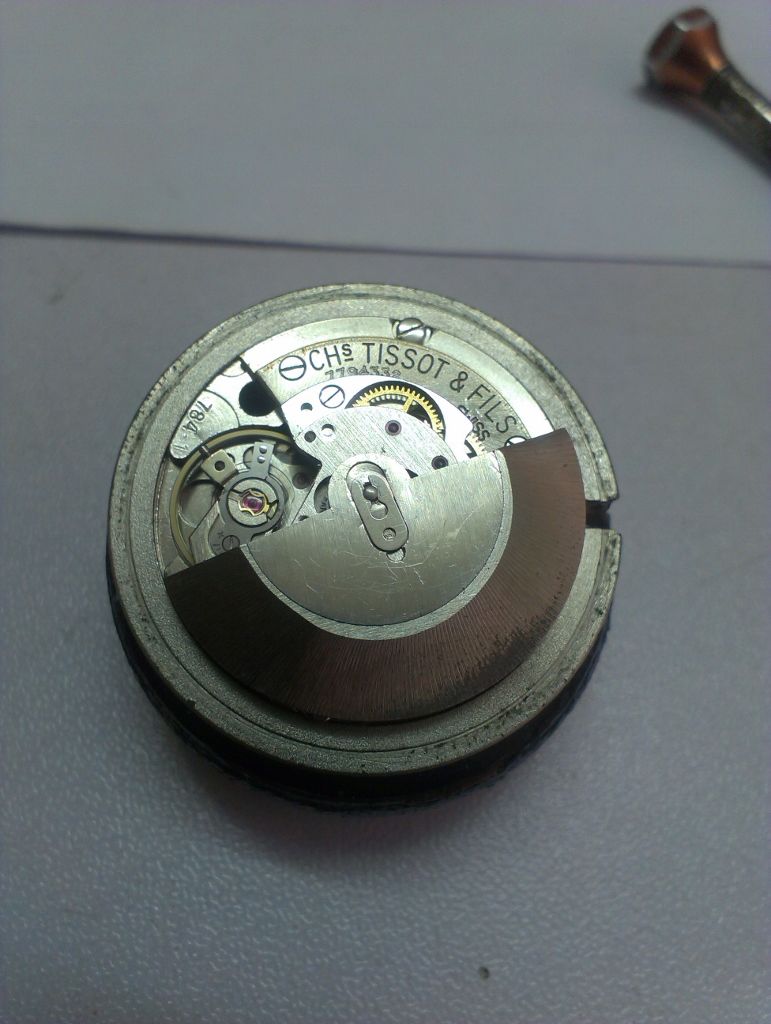
Rotor in place and secured with clip.
Now the reason we have done it this way instead of like normal movements where we get the dial side sorted before moving on the the auto-wind and casing the watch is because Tissot have used a monocoque case, ie, one without a caseback where the dial is accessed from the front. This is not unusual and other makers have gone down this route as well but other manufacturers use a 2 piece stems where the stem is disconnected and the movement removed complete.
2 piece stem

What Tissot has done is use a one-piece stem where the components are built-up once the movement is placed in the case.
Here we have the movement place in the polished case..
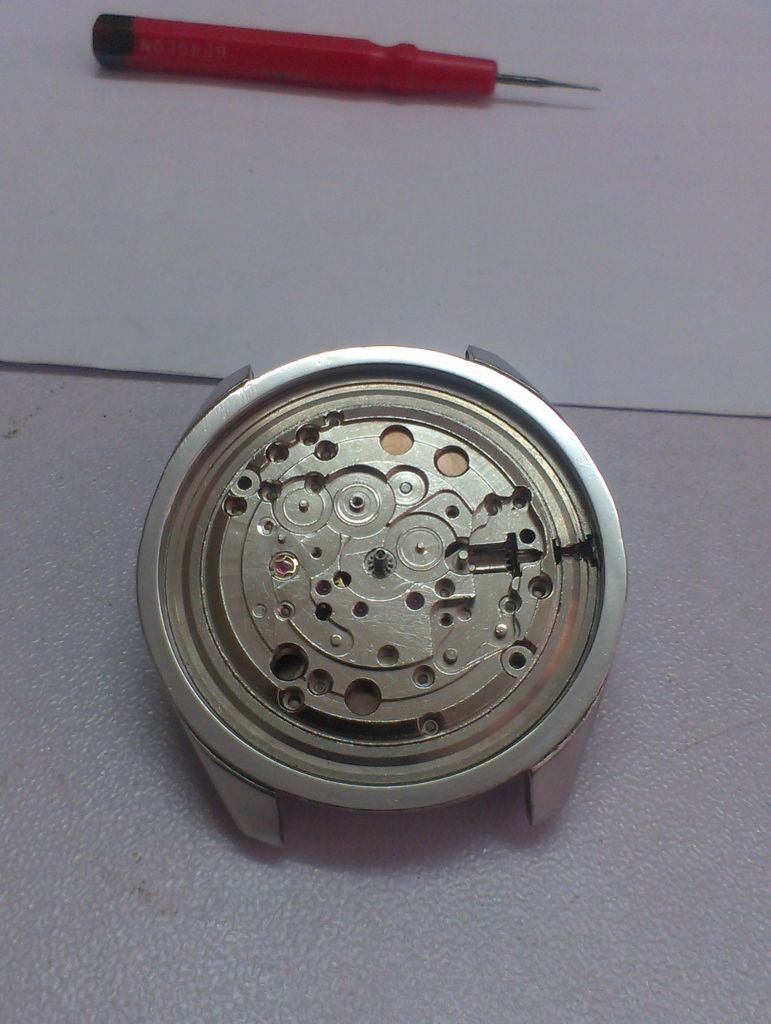
Which is retained by a spring clip..
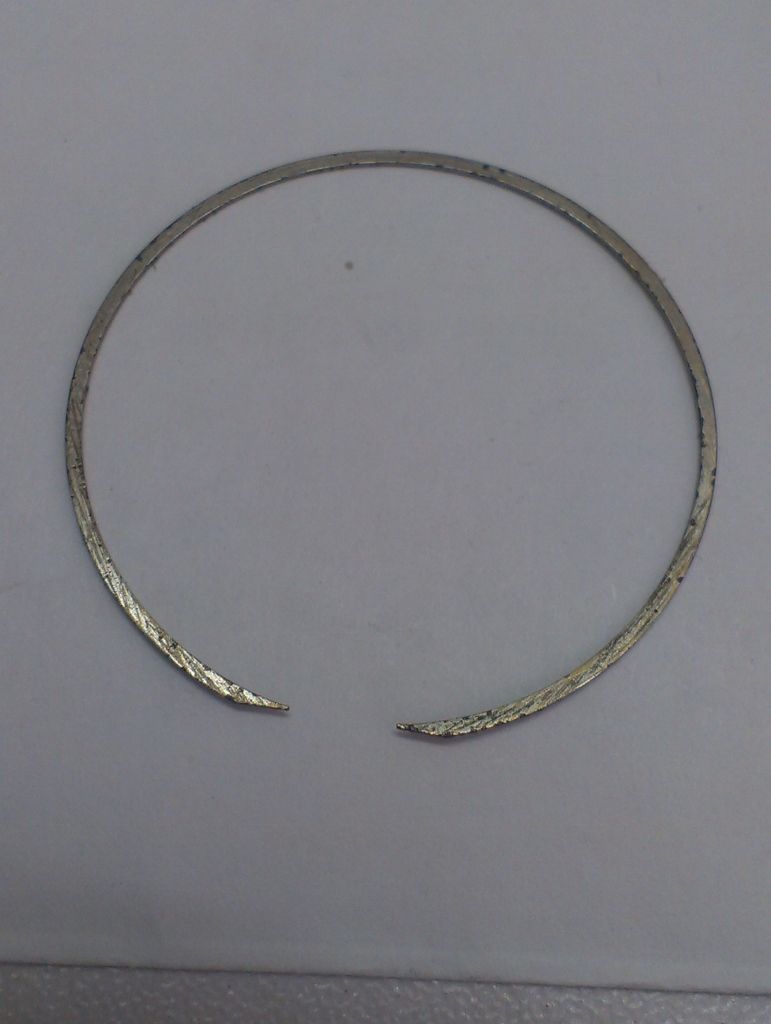
Here you can see the clip installed.. the arrow point to the ends of the spring.
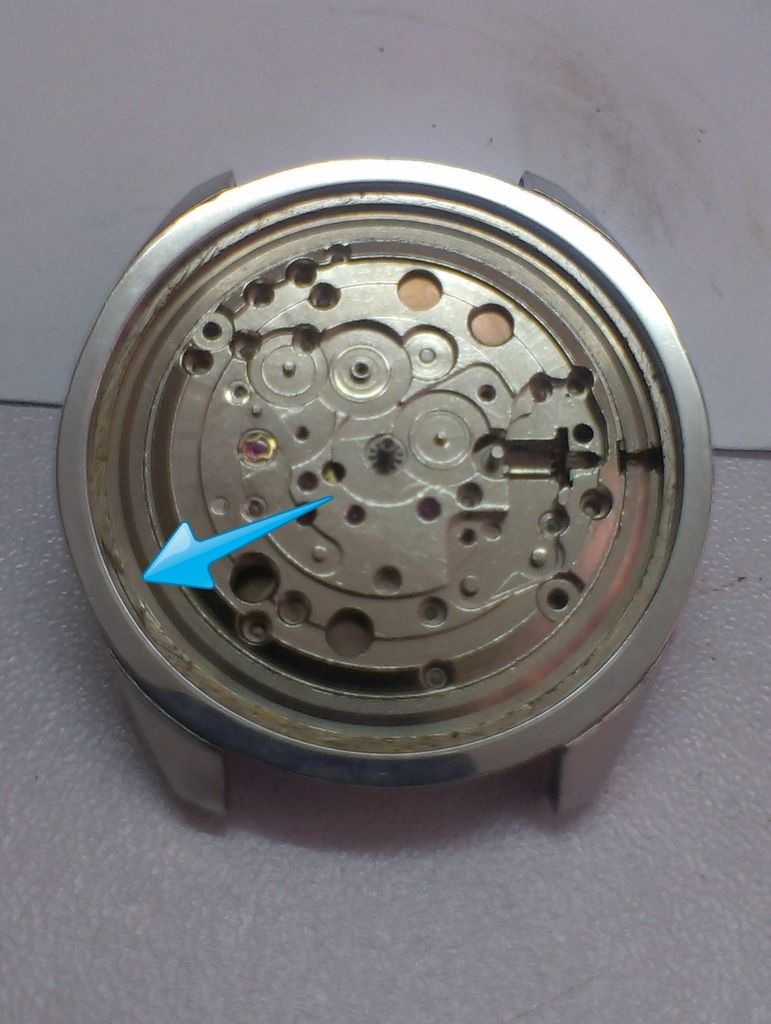
Set-lever and winding pinion/clutch wheel installed.
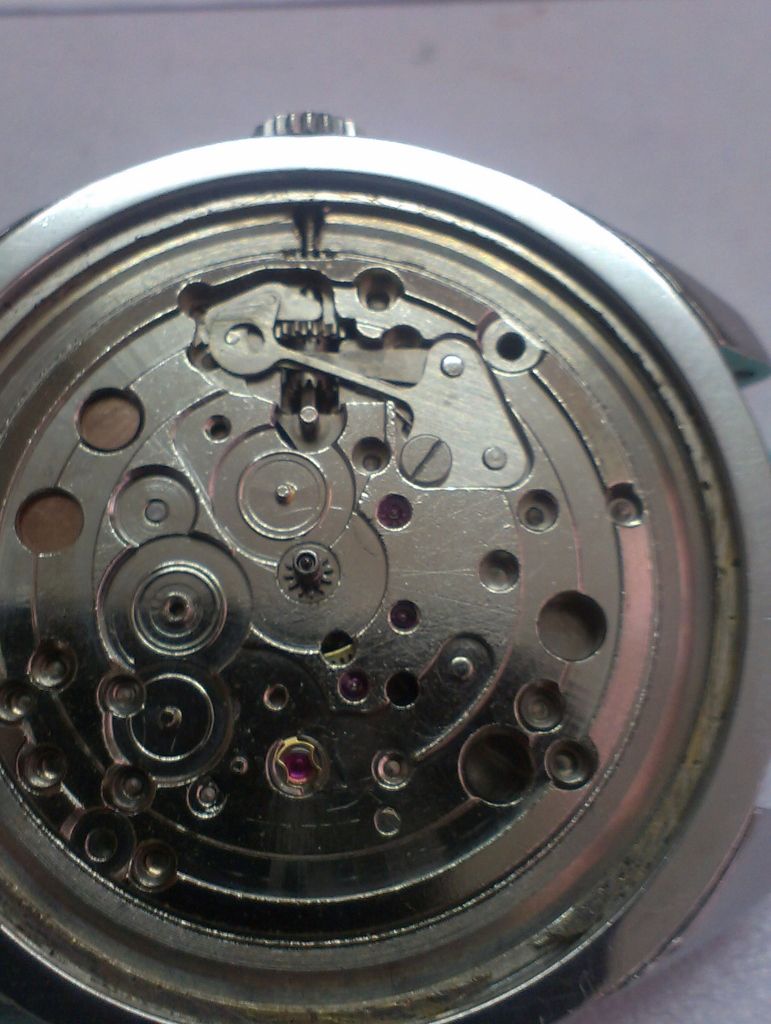
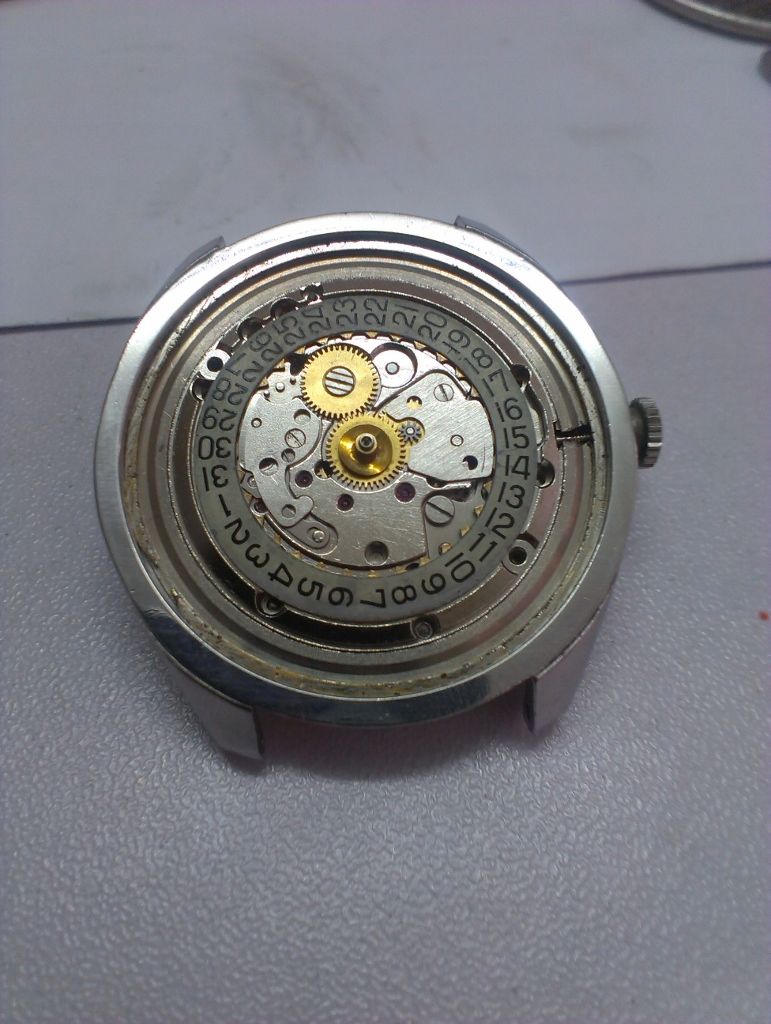
Date-wheel and associated hardware installed.
Followed by the dial. Unfortunately the dial was too bad to be cleaned up so I ended up polishing it and giving it a coat of clear lacquer. The crystal cleaned up well with a polish so this went back on as well.
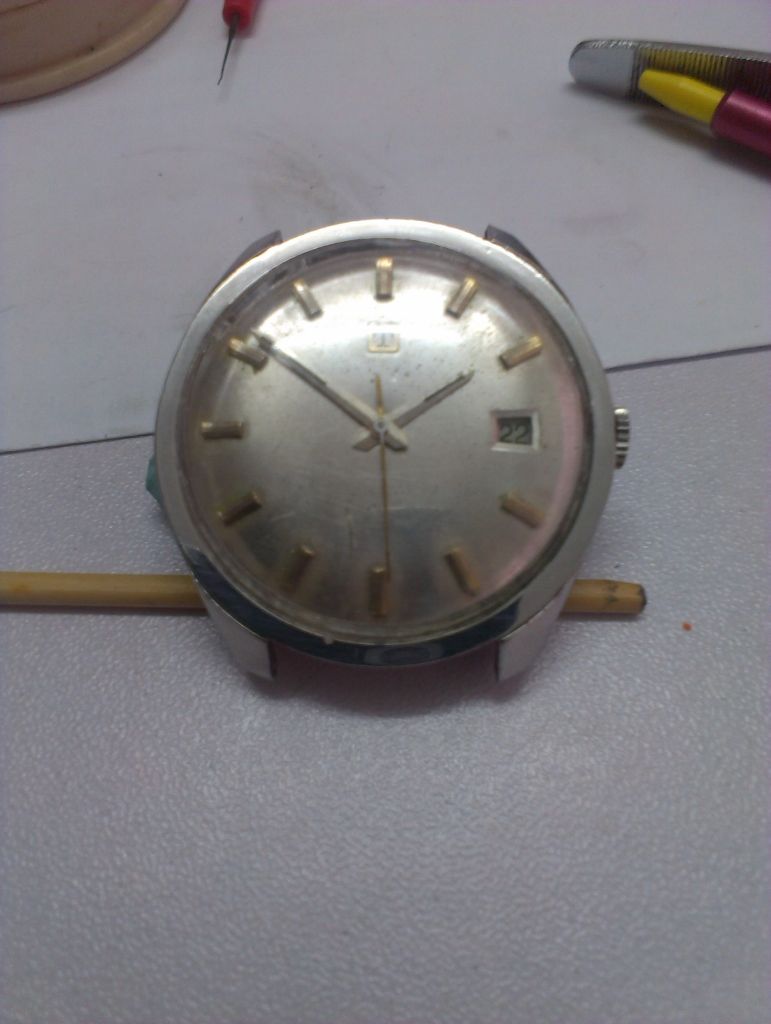
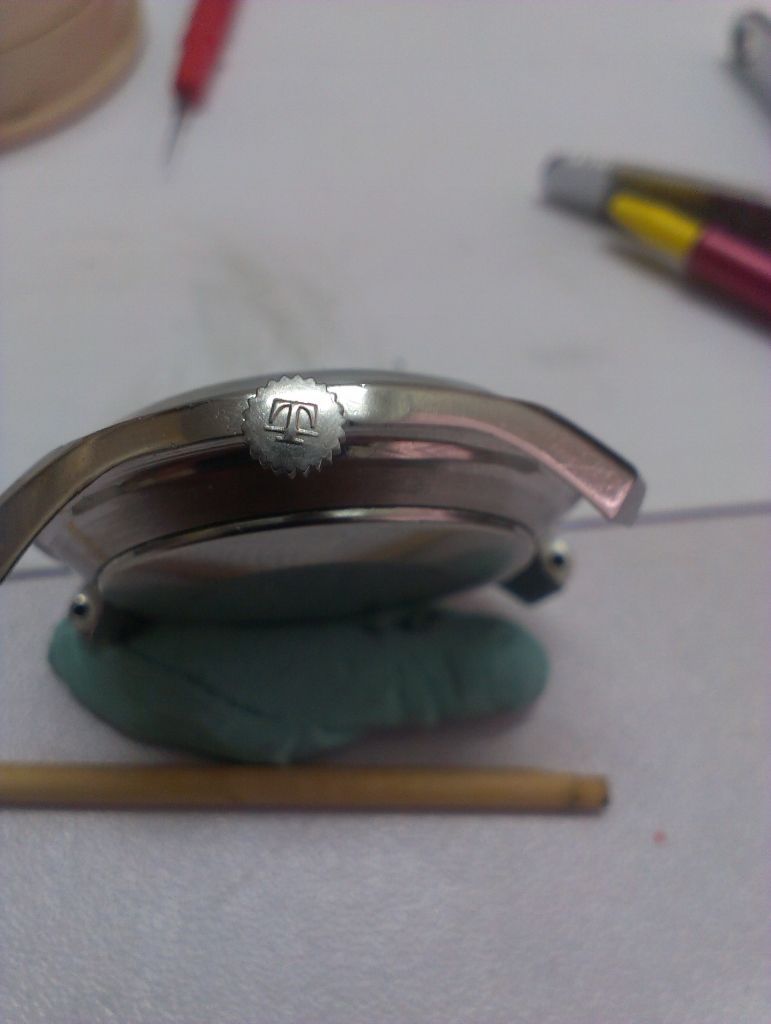
Edge on view, original Tissot crown...nice.
Caseback...it looks as if the case-back is a pop-on type and I've seen many with scratches where attempts were made to pry the caseback off. The words 'Use key No 315T' should be a hint..no?
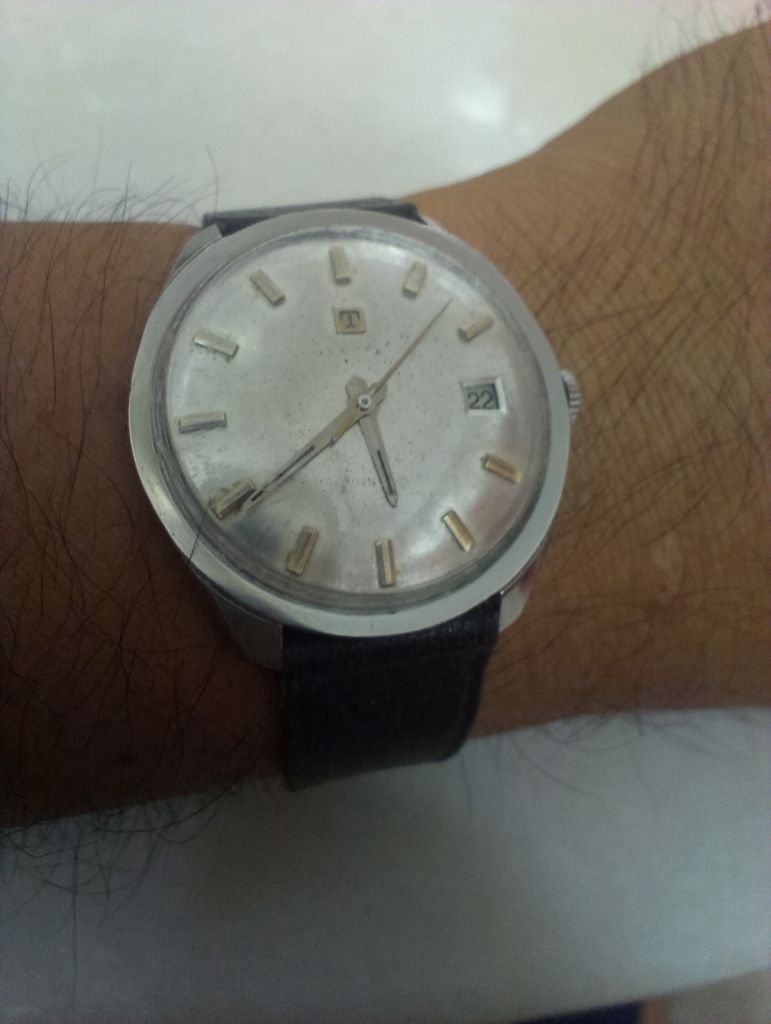
Anyway.. here it is on my wrist, all done and ticking well.
Thanks for reading!